How to Blur a Screenshot for Free
It's more important than ever to keep your personal information safe in this digital age. When you share images, you might accidentally show sensitive elements. That's when it helps to know how to blur a screenshot.
We'll show you step by step how to blur your pictures in this simple guide. This article will teach you how to make your content confidential, whether you're a professional who protects data or just someone who cares about online privacy.
How to blur a screenshot on Windows
Icecream Screen Recorder is a flexible program that lets you record and take pictures of what you do on your display on Windows and Mac.
This tool has a lot of features, which is why many people choose it for different things. Blurring a screenshot with it is easy, and this can help you keep private information safe before you share it.
How to blur screenshots with Icecream Screen Recorder
- Download capture software and install the blurring tool.
- Open the webpage or application that you want to take a screenshot of.
- Launch the recorder.
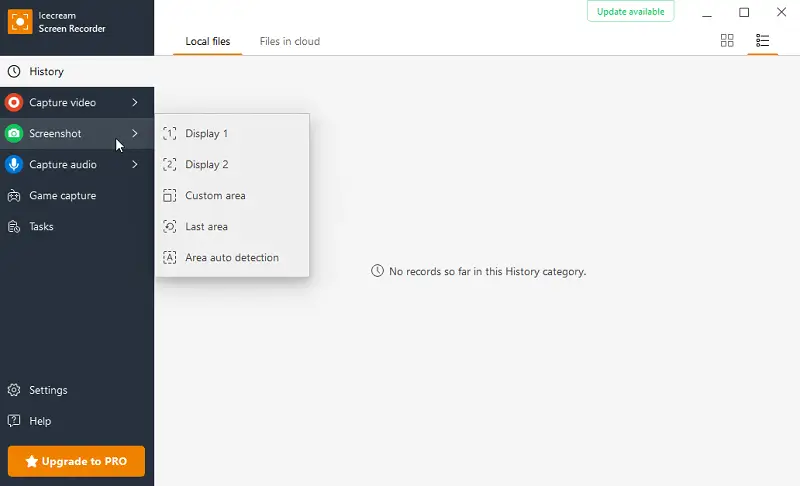
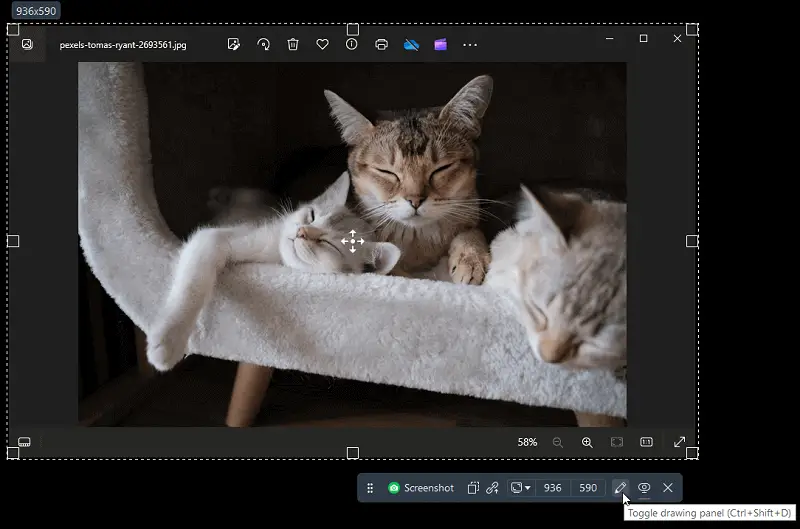
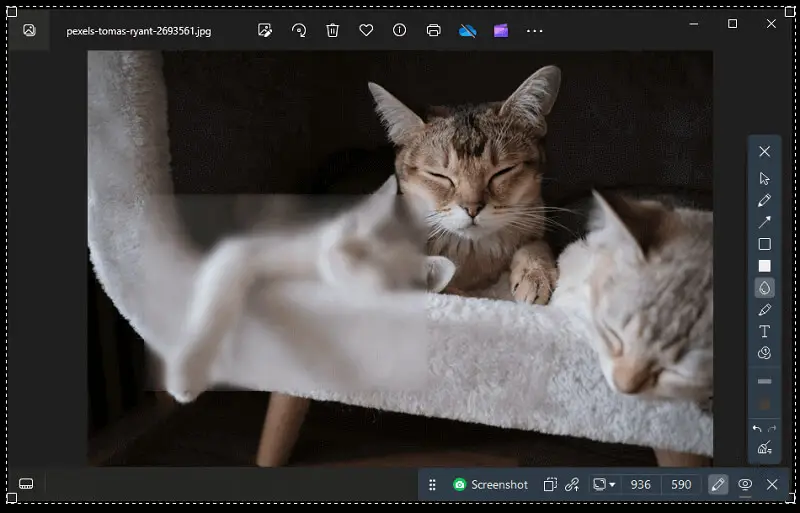
- Click "Capture video" and select "Capture screenshot". You can either snapshot the entire display or select a specific zone.
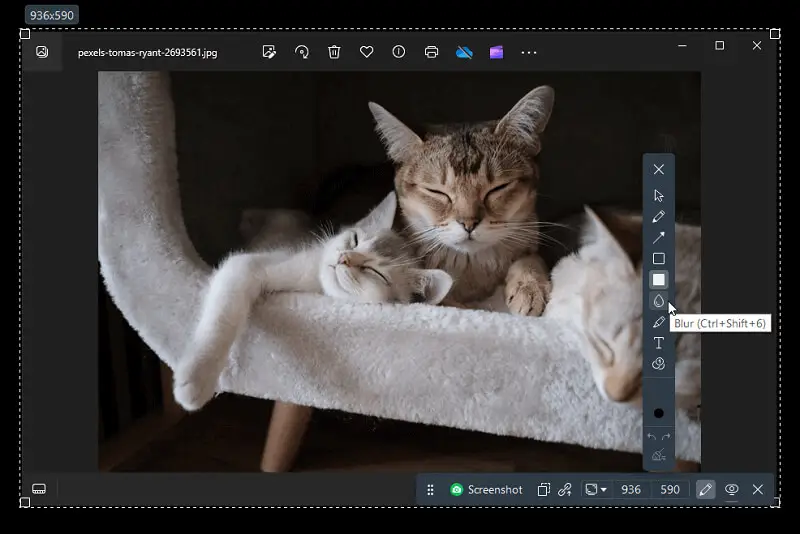
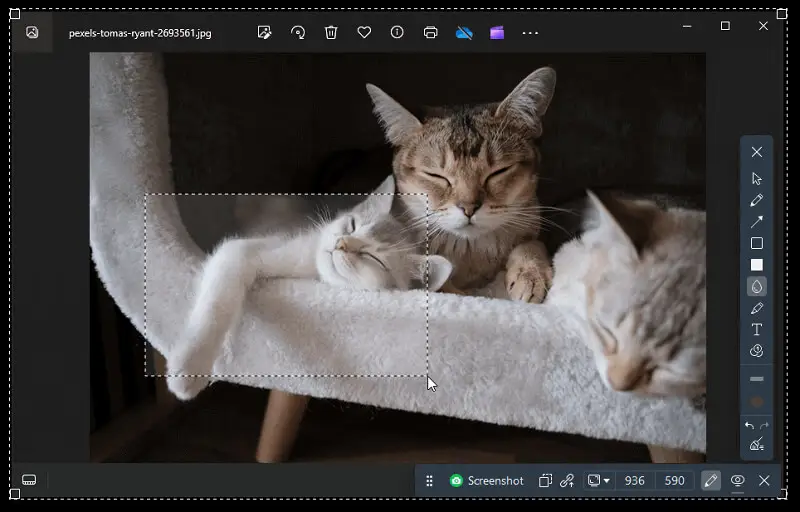
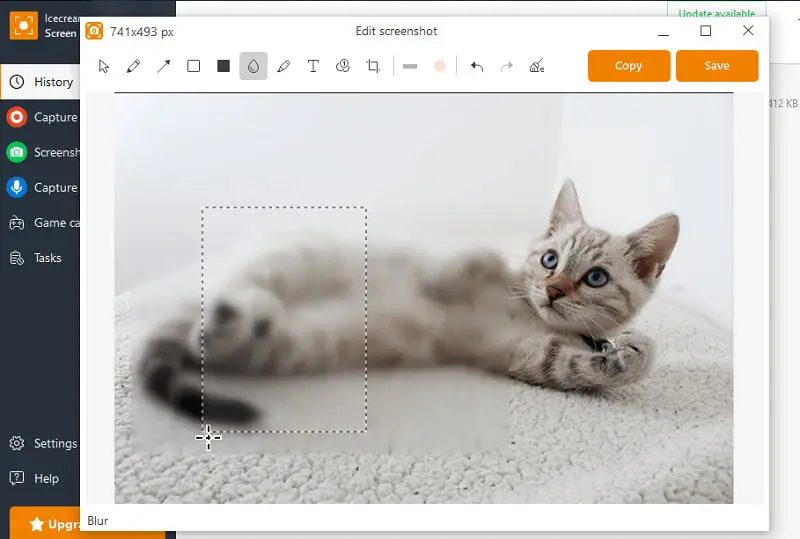
- Once your area is set, hit the "Pencil" icon to open the drawing panel. This will open the editing menu. Trace the "Blur" element and then use your cursor to shade the sections you wish to obscure.
- After hiding the necessary areas, tap the "Screenshot" button.
- Now you can save the resulting file, or upload it and share by URL.
Wondering what to do if you've already made an image but forgot to hide some details?
No need to fret! Thanks to the built-in editor, you can do it at any time. Let's walk through how to blur out a screenshot that has already been created:
- Open the screen recorder.
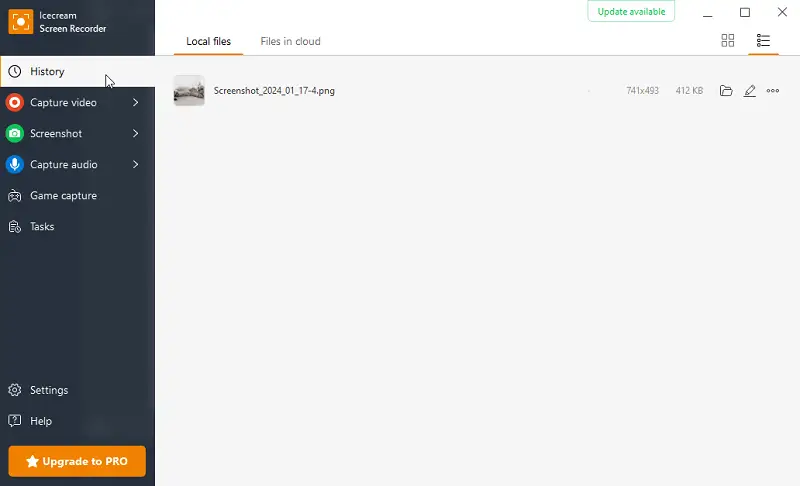
- Navigate to the "History" section and locate "Local Files" to access all previously taken content within the application.
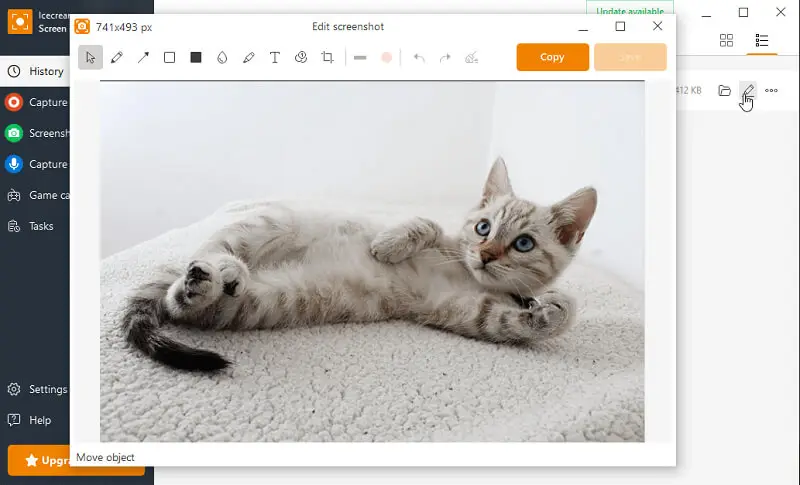
- Select the desired image and click the "Pencil" icon next to it.
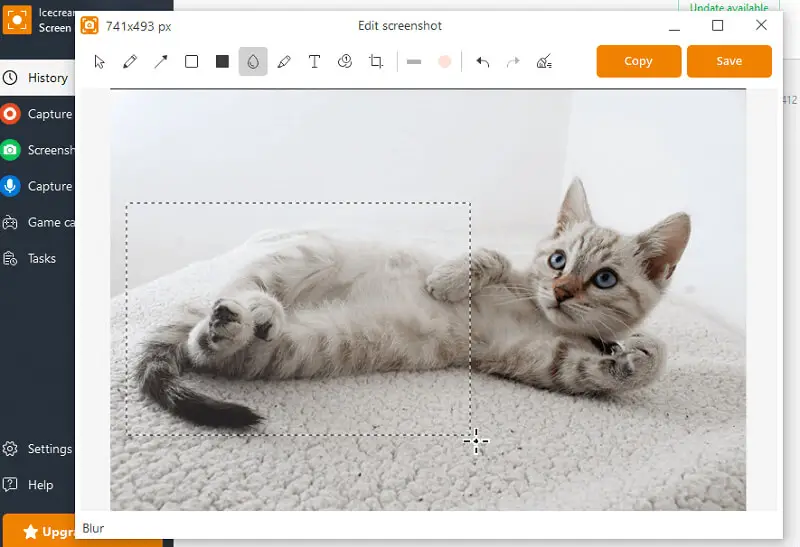
- Now you can adjust the result. Enter the editing mode, and use the "Blur" button to apply the effect to the specific areas you wish to conceal. Set the intensity by layering on the same spot.
- Once you've hidden the required areas, save the screenshot.
Benefits of our free blurring tool:
- Intuitive interface. With its simple interface, even beginners can easily navigate and try the screenshot software. The straightforward design ensures a smooth experience.
- All-in-one solution. The app serves as a comprehensive approach to screen recording and editing. You can seamlessly switch between these functionalities, streamlining workflow without the need for multiple applications.
- Access to screenshots. "History" and "Local Files" enable access and management of all previously captured pictures.
- Annotation tools. It includes drawing and annotation. These features are handy for highlighting key points or adding visual context.
In summary, Icecream Screen Recorder combines ease of use and efficient editing features to provide a convenient solution for blurring screenshots and maintaining privacy. Its versatility makes it an ideal choice for these seeking a multipurpose app.
Reasons to blur the screenshot
This is a versatile instrument commonly found in image editing applications. It is utilized to soften or obscure specific areas, so they are less distinct. Below are several ways in which you can effectively utilize the blur effect.
Privacy protection
The primary use of the blurring tool is to protect privacy by obscuring sensitive or confidential elements. People can selectively hide details such as names, addresses, phone numbers, or any other personal data before sharing.
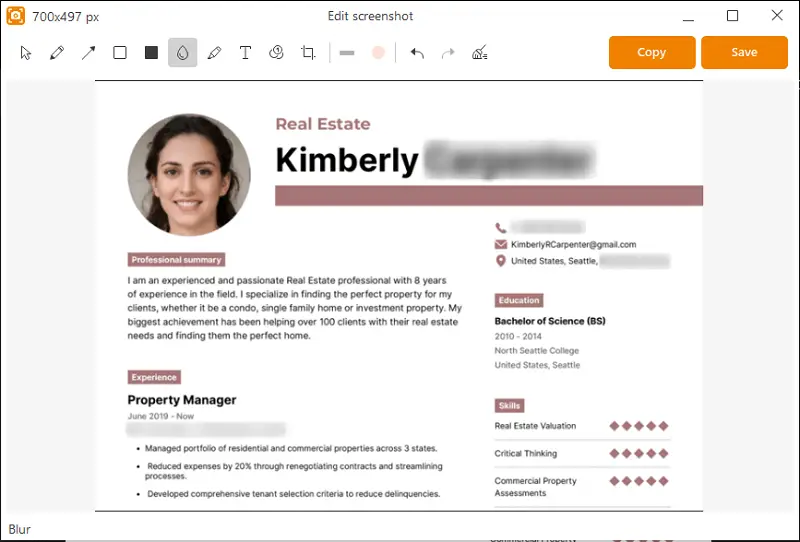
Redaction of text
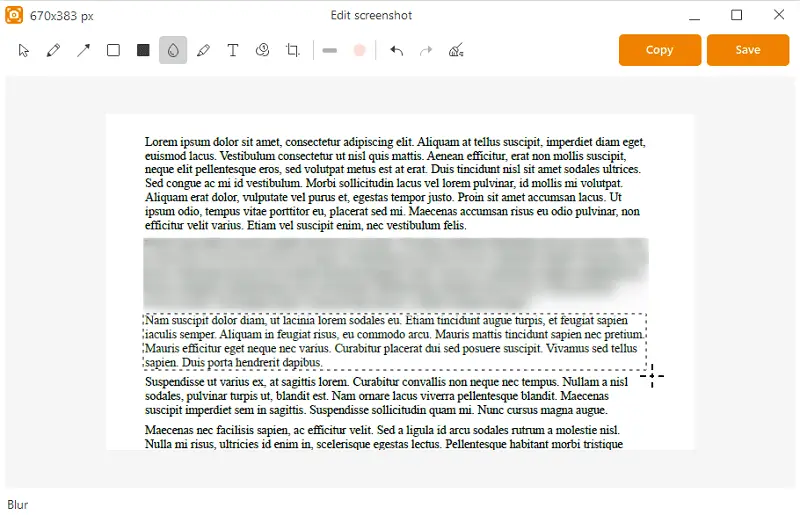
When working with scanned documents that require some adjustment and when lacking a program equipped with OCR functionality, the blur text option becomes indispensable.
This is particularly great for legal or confidential papers where certain information needs to be concealed while maintaining the overall integrity of the content.
Moderation
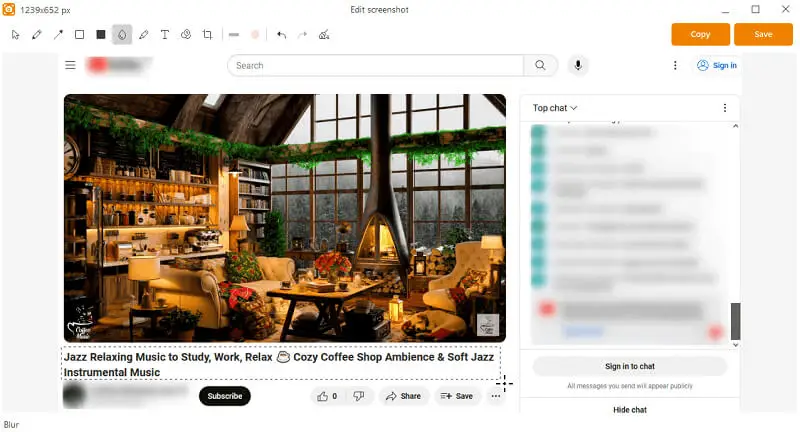
Bloggers and moderators often need the blur tool to anonymize readers or objects in user-generated content. This is crucial for platforms and forums where privacy regulations must be adhered to, ensuring that the identities of individuals remain protected.
Focus on key elements
Creatively employing the blur effect helps direct the viewer's attention to specific elements within an image. By hiding the background or less important details, you can emphasize the main subject, creating visually appealing compositions with a clear focus.

Correction of imperfections
In photo editing, the option is a valuable ally for retouching imperfections. Editors can soften blemishes, wrinkles, or other minor flaws, resulting in a more polished and aesthetically pleasing final result.
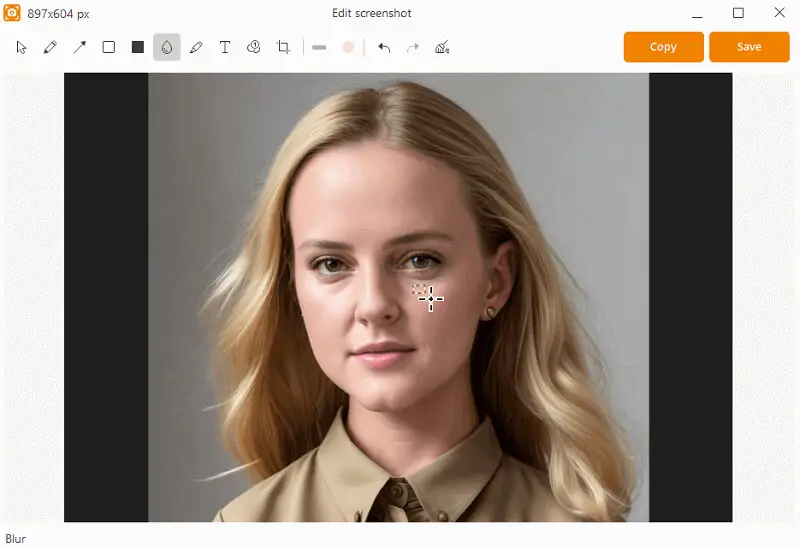
Creation of artistic effects
Beyond practical applications, the tool can be used to add depth and create unique visual effects. Adjusting the intensity creatively can lead to captivating compositions, elevating the overall appeal.
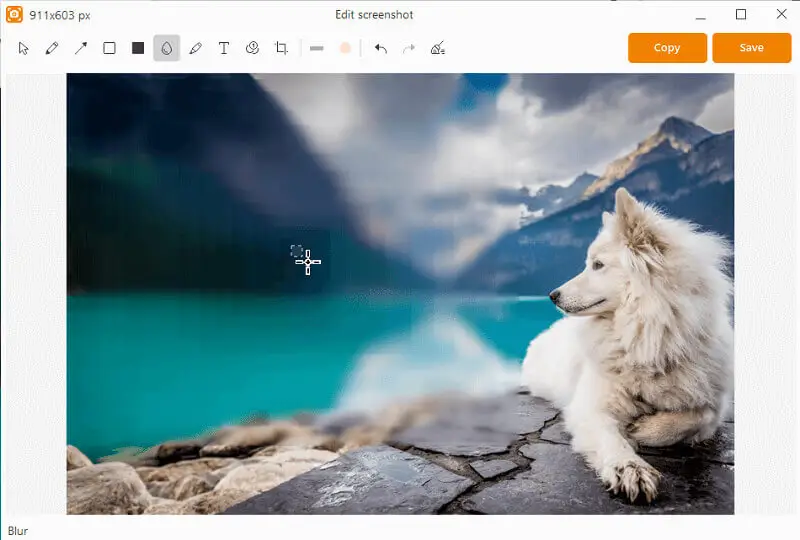
Highlighting motion
In dynamic elements with motion, it can convey a sense of movement. By selectively covering specific parts, it is possible to create a dynamic and energetic visual effect, capturing the essence of action.
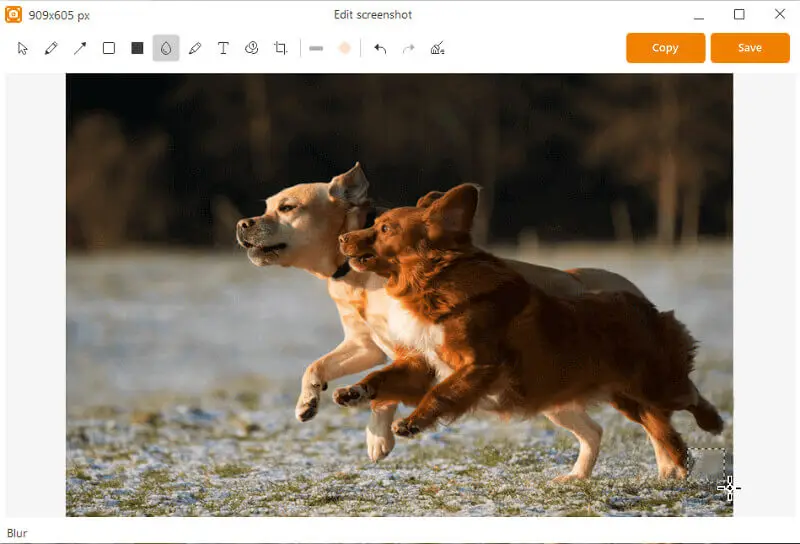
Annotation
Combining the blurring tool with drawing features allows users to annotate specific areas. This approach is beneficial for providing context or explanations in tutorials alongside.
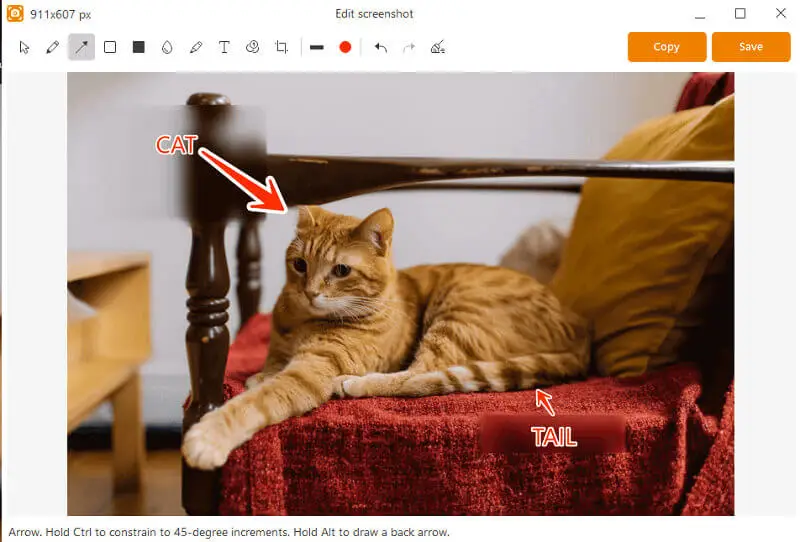
In conclusion, the blur tool is a multifaceted feature that caters to practical and creative needs across various domains, from privacy protection to artistic expression in digital content creation.
Pixelation vs. Blurring
Pixelation and blurring are two distinct techniques used to obscure or anonymize content in images, each with its own characteristics and applications. Below is a breakdown of the key differences between them.
| Feature | Pixelation | Blur effect |
|---|---|---|
| Method of Obfuscation | The details are replaced with small square blocks, creating a mosaic effect. The size of these blocks determines the degree of pixelation and how much detail is concealed. | Involves smoothing out the colors, creating a more uniform and softened appearance. The level of blurriness can be adjusted based on the desired effect. |
| Aesthetic Impact | Results in a more geometric and structured appearance. It can be easily recognizable due to the clear square blocks covering the areas. | Provides a smoother and more organic look. It maintains the overall shape of objects but reduces the sharpness of edges, resulting in a more fluid and subtle effect. |
| Cases | Employed when a more abstract or stylized look is acceptable. It is commonly used to anonymize faces, license plates, or other sensitive information while preserving a certain level of visual interest. | Employed in various scenarios where maintaining a natural appearance is important. It is commonly utilized for obscuring text, backgrounds, or entire sections, making it suitable for a broader range of applications. |
| Reversibility | In most cases, pixelation is reversible, especially if the original has been saved without resizing or losses. Removing pixelation can often restore the original details. | The process is generally irreversible, meaning that once an image has been blurred, it's challenging, if not impossible, to revert it to the original state. |
| Privacy Considerations | Effective for concealing details while maintaining a degree of visual recognition. It's often chosen for protection in scenarios where anonymity is crucial. | Versatile and can be applied subtly for privacy without completely distorting the subject. It is suitable for occasions where it is desirable to retain some semblance of visual context. |
Screenshot blurring techniques
1. Average blurring
Also known as mean blurring, this technique involves averaging the pixels within a kernel (a small matrix) that moves over the image.
Effect: Smooths the visuals by reducing detail and noise.
2. Gaussian blurring
Uses this function to create a weighted average around a pixel. The weights decrease with distance from the center of the kernel, giving more importance to closer pixels.
The Gaussian distribution is a mathematical function that describes the normal distribution of a set of data.
Effect: More natural-looking effect compared to average blurring, often for removing visual noise.
3. Median blurring
Replaces each pixel with the median value of the pixels in the kernel.
Effect: Preserves edges better than average and Gaussian blurring, useful for salt-and-pepper noise.
Tips
- Adjust the strength by modifying the radius or intensity settings. A higher parameter will make the change more pronounced, while a smaller offers a gentler effect.
- For screenshots with several sensitive areas, edit each section individually. This provides better control and prevents over-blurring parts of the image you want to keep clear.
- Zoom in on the specific places of the photo you need to work on, especially if dealing with small text or fine details.
FAQ
- How do I adjust the level?
- This depends on the specific tool. In general, there will be an option to set the intensity or strength of the blur effect either through a slider or by manually entering a value.
- Can I unblur an image if necessary?
- The effect applied using Icecream Screen Recorder is reversible during the editing process. However, once the result is saved, it becomes permanent, it cannot be reverted back to its original state. It's important to double-check and ensure you are satisfied with the output beforehand.
- What format should I save the result in?
- The file type depends on your specific needs and preferences. However, common options that preserve quality while maintaining a reasonable size include JPEG and PNG. If you need to preserve transparency, PNG is often preferred.
- What are the common mistakes to avoid?
- Be cautious of overblurring, which might distort the picture to the point of losing its meaning.
- Is it better to crop a screenshot?
- It depends on the context. Cropping removes the information, while blurring still provides the surrounding context.
- Is blurring screenshots common in corporate environments?
- Yes, businesses often cover data when sharing it across departments, externally with clients, or in presentations.
Conclusion
In conclusion, mastering the art of blurring screenshots is a valuable skill for anyone concerned about privacy or sharing sensitive information online.
Whether you're protecting personal data, or simply adhering to ethical practices, this ability can be an indispensable instrument in your digital toolkit.


