How to Make a Slideshow for YouTube for Free
Creating a YouTube slideshow is a great way to share your content. For example, you can make a presentation out of wedding photos or produce reels with images of your small business products.
To do so, you need a reliable program that will meet your needs and produce content compatible with YouTube requirements.
In this article, we will talk about 3 tools that can serve as a slideshow maker for YouTube.

How we picked and tested slideshow makers
To write this article, we chose 3 methods: for Windows, for Mac, and an online one.
Each of them is free to use, offers a variety of transitions, and allows the addition of background music.
Additionally, all creators have their unique characteristics that we will discuss in detail later.
Way 1. Icecream Slideshow Maker
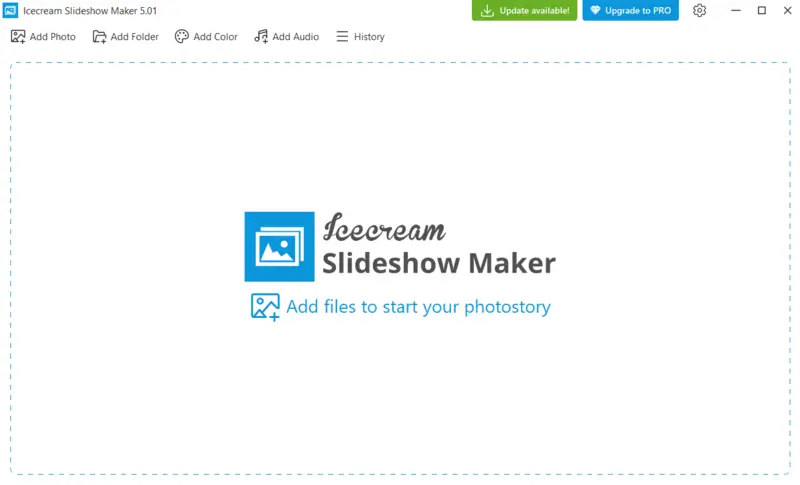
Icecream Slideshow Maker is a simple tool for creating good-looking presentations. It offers a bunch of transitions and other customization options. The good news is the program is free and very easy to install.
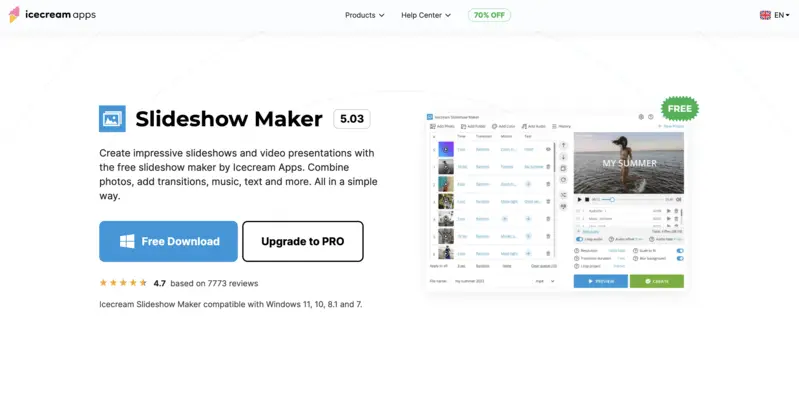
How to make a slideshow for YouTube with Icecream Slideshow Maker
Step 1. Download the app for Windows. Install and open it.
Step 2. To import images, click the "Add photo" button or "Add Folder" to upload in bulk. File formats supported are JPG/JPEG, PNG, BMP, and GIF.
Step 3. With the "Add audio" functionality, browse the background music for your visual. The track can be in MP3, M4A or WAV format.
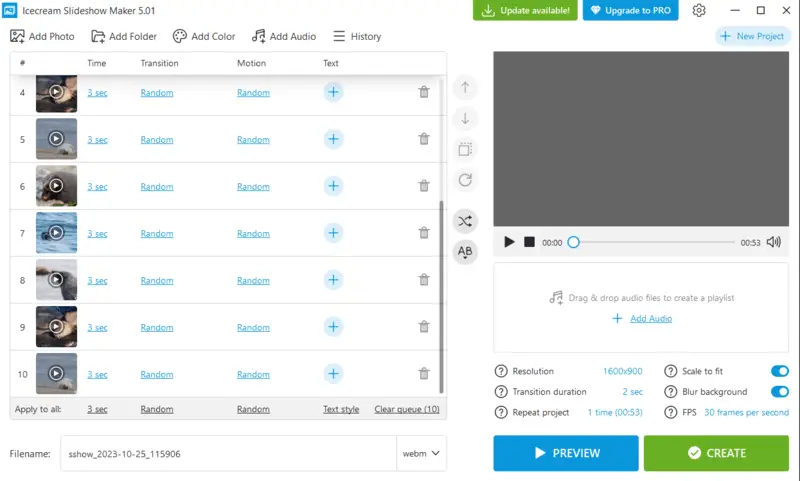
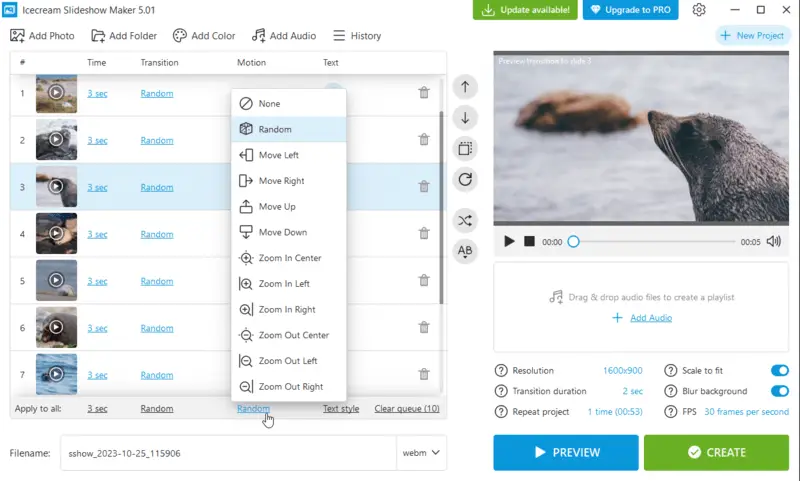
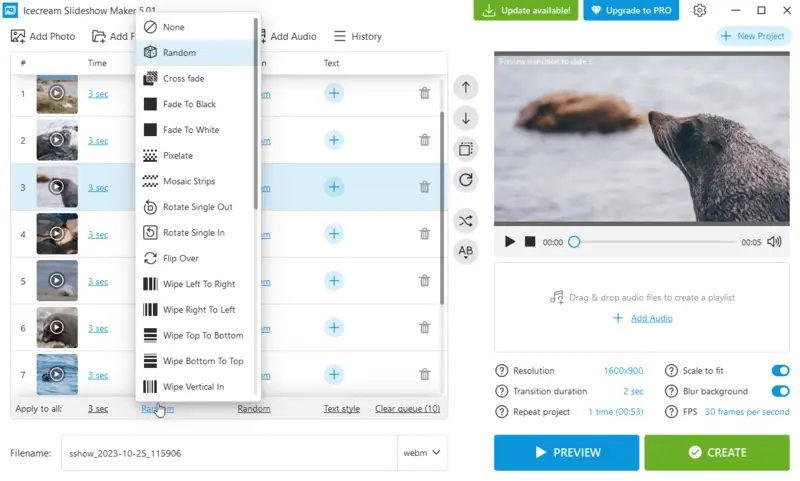
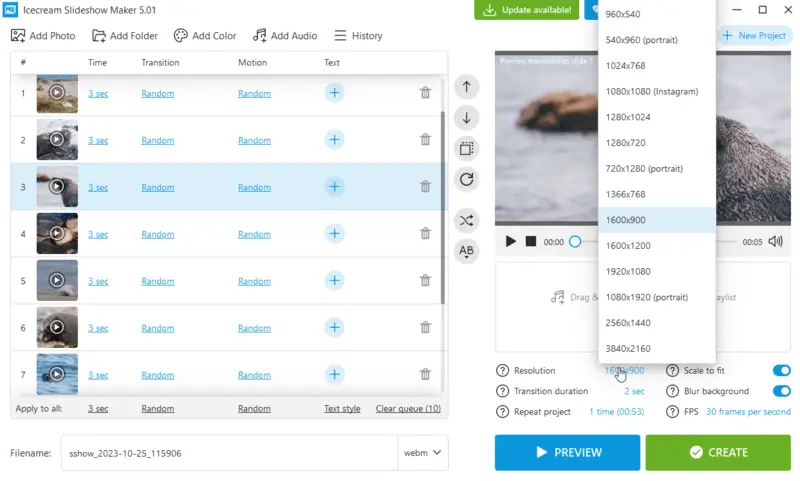
Step 4. Begin making your YouTube slideshow one of a kind:
- Connect your slides with "Transitions";
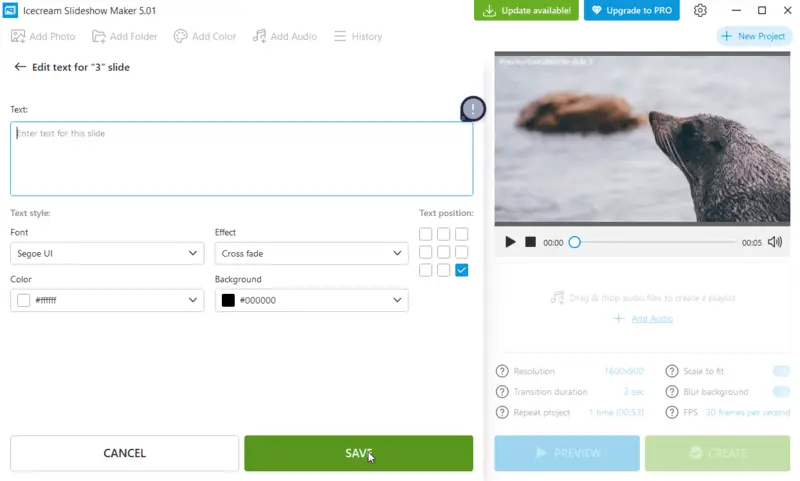
- Incline "Motion" and "Text";
- Set the "Time" for each pictures;
- "Blur background" of your images;
- Choose the "FPS";
- "Loop Audio" if needed;
- "Shuffle Photos" to randomize the order;
- And more!
Step 5. Name your project and pick the "Output format" - MP4, WebM, AVI, and MOV.
Step 6. Once you are done customizing, you can "Preview" your work. When satisfied, hit "Create".
Step 7. When the presentation is ready, you will see a popup window with the "YouTube" button that will allow you to load your panel to your channel right away.
Way 2. iMovie
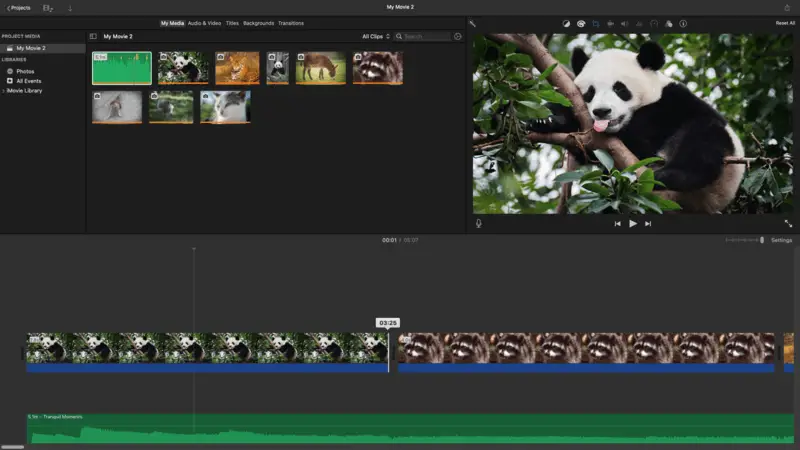
Although this built-in program is designed for video editing, generating a YouTube slideshow with iMovie is a straightforward task. With the same tools, you will be capable of crafting a great-looking clips in no time.
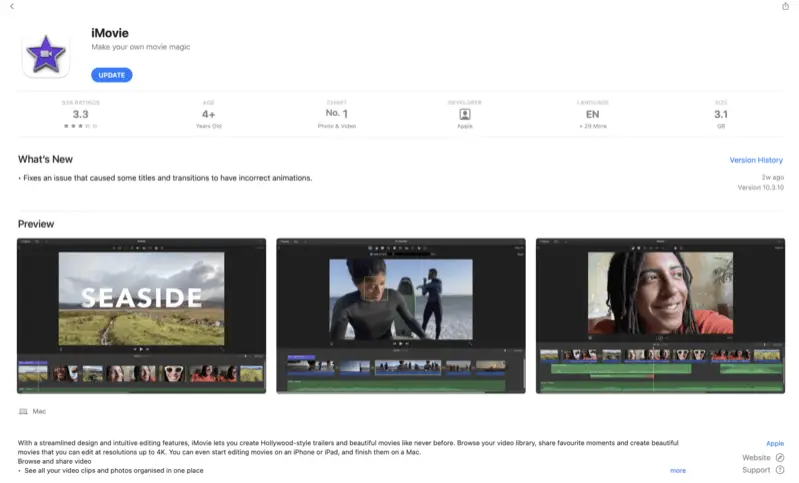
How to use iMovie as a slideshow maker for macOS
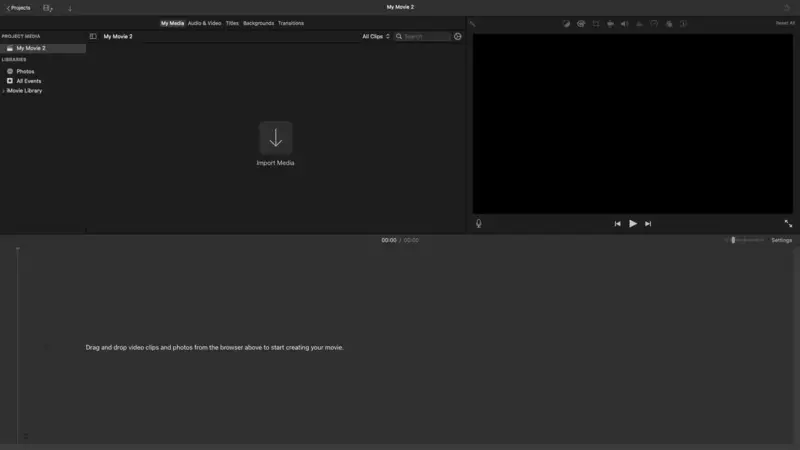
Step 1. Open iMovie. Hit "Create New" in the menu "Projects". Opt for the option "Movie".
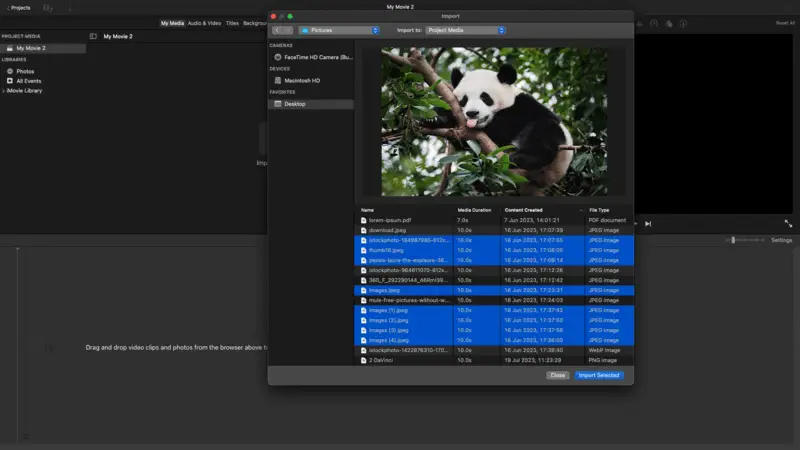
Step 2. In the project window, click "Import Media". Select all of your depictions and music that you want to put on your visual. Then hit "Import Selected" or "Import All" if you want to utilize every single element in the folder.
Step 3. To add materials to the timeline, simply drag them there or incorporate them by clicking the "+" button that appears when hovering over the image in the media library.
Step 4. Move the slides around to have them in the desired order. Adjust their length by dragging the edges of each photo or song.
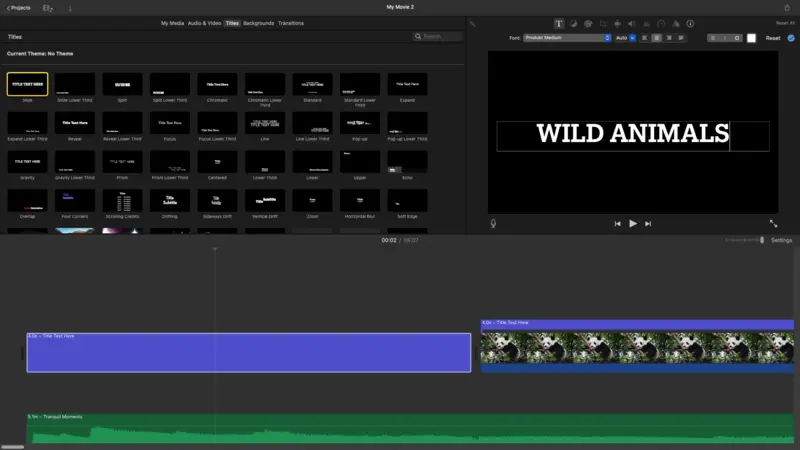
Step 5. To lay "Titles", "Backgrounds", or "Transitions", tap the corresponding menus at the top toolbar.
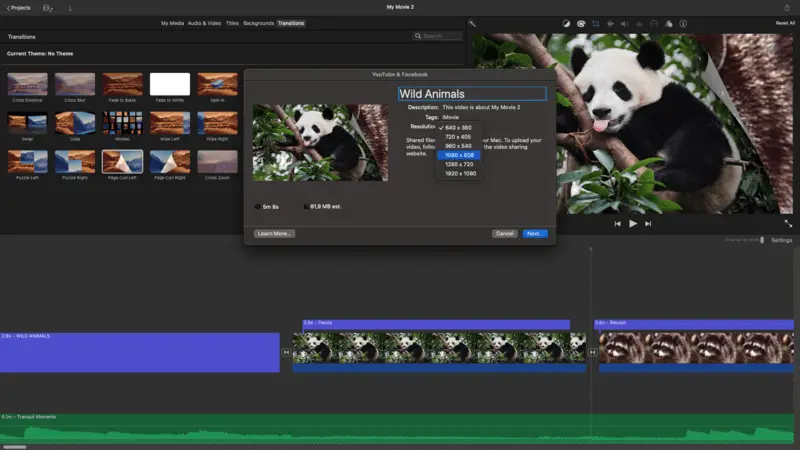
Step 6. Export your slideshow by with "Share" at the top right corner. Pick the option "YouTube & Facebook".
Give the name, incorporate descriptions, find the resolution, and hit "Next...". Click "Export" and wait for the operation to finish. The result file will be a MOV video.
And there you have it - a quick guide on constructing a YouTube slideshow on your Mac! With these steps, you should be able to build great-looking presentations in no time!
Way 3. Canva
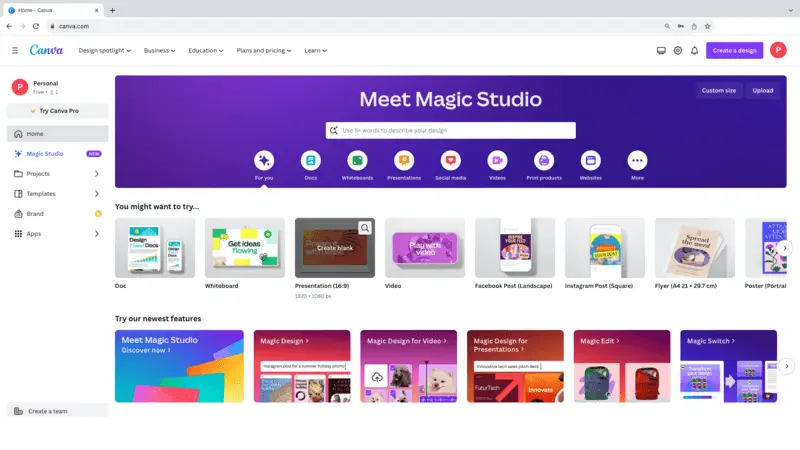
Creating a stunning deck for YouTube is easy with Canva. This simple design platform enables you to craft attractive video slideshows in no time at all.

How to make a presentation for YouTube online with Canva
Step 1. Go to the Canva website and create an account if you don't have it.
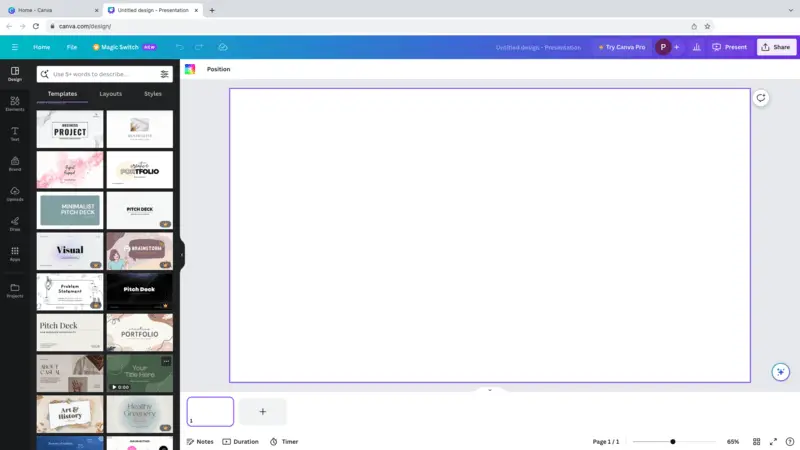
Step 2. Under design options, select "Presentation". Pick a "Template" if you want or produce a slideshow from scratch. With the template, you can select only slides with the layout you like or add all suggested pages.
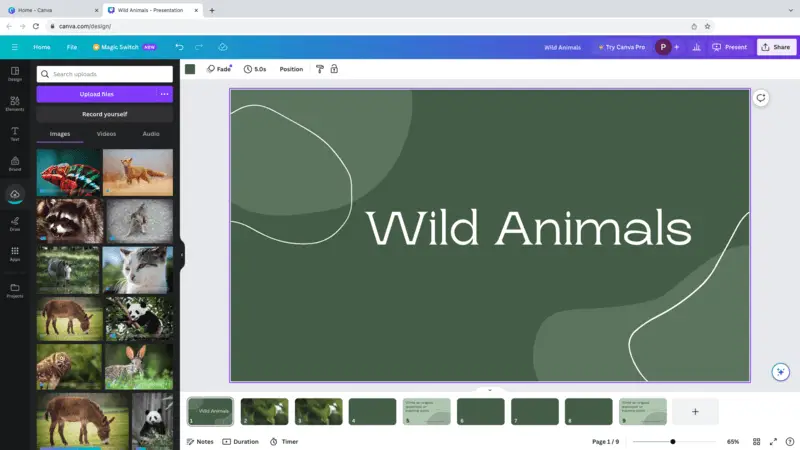
Step 3. To import materials, utilize the "Upload" tab on the toolbar on the left. You can incline graphics, videos, and audio files in various formats.
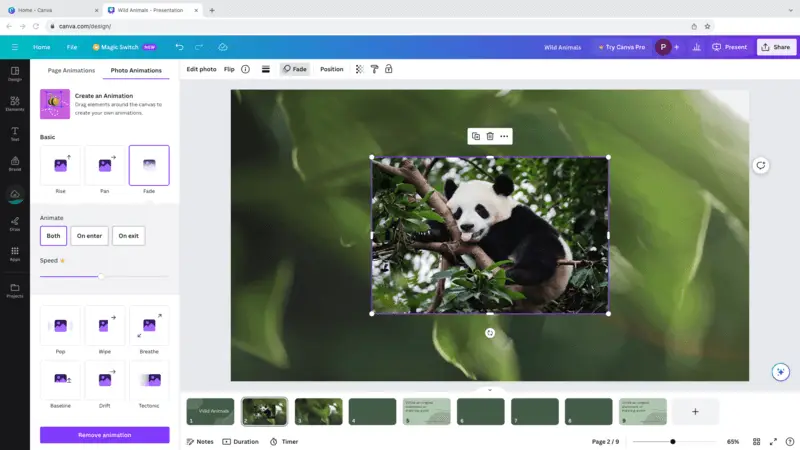
Step 4. Begin composing your YouTube clip. Manually place images and other elements on the sheet. You can "Animate" your pics, add stock "Elements" and "Text", set "Duration", etc.
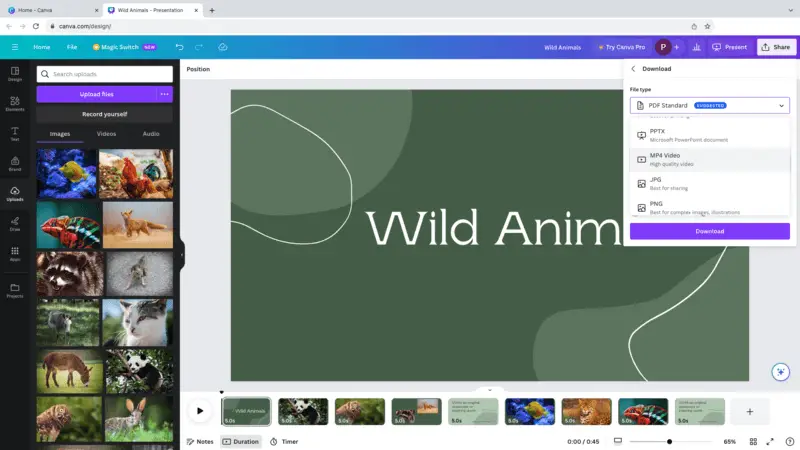
Step 5. When done, hit the "Share" button at the top right corner and select the option "MP4 Video". Click "Download".
Generating a slideshow for YouTube is effortless with Canva. With its easy-to-use website and wide selection of templates, you can produce eye-catching visuals in no time. So go ahead and start making yours today!
Optimizing for YouTube SEO
Search engine optimization (SEO) plays a crucial role in ensuring that your content gets discovered by the right audience. When it comes to YouTube, refining the upload metadata can significantly impact its visibility, reach, and engagement.
SEO involves various strategies and techniques aimed at optimizing a website's text, structure, and overall online presence to make it more appealing to Google, Bing, and Yahoo.
Tips to refine your YouTube slideshow effectively:
- Keyword research. Identify relevant phrases related to your video slideshow via tools like Google Keyword Planner, SEMrush, or YouTube's own suggest feature. Incorporate these keywords naturally into the title, description, and tags.
- Optimized headers. Craft a descriptive and compelling title that includes your target keywords. Keep it concise yet informative to attract clicks and accurately denote the content of your presentation.
- Engaging thumbnail. Create a visually appealing thumbnail that accurately stands for your YouTube slideshow's and encourages viewers to click. Use high-quality images, clear text, and vibrant colors to make your thumbnail stand out.
- Detailed description. Write sentences that provides additional context, keywords, and relevant information. Include timestamps, links to related content, and calls to action to encourage engagement and interaction.
- Transcription. Add text to video or closed captions file to improve accessibility and help search engines index your content more accurately.
- Analyze performance. Regularly monitor your performance metrics such as views, watch time, audience retention, and engagement. Utilize YouTube Analytics to identify areas for improvement and adjust your strategies accordingly.
YouTube video specifications
YouTube has specific guidelines for uploading clips to ensure they are optimized for viewing on their platform. Here’s a comprehensive overview of the key requirements:
Format and codec:
- File Type. MP4 is the recommended extension.
- Visual Codec. H.264 is preferred.
- Audio Codec. AAC-LC (Advanced Audio Codec, Low Complexity).
Resolution:
- Standard Definitions. 480p (854x480 pixels).
- High Definition (HD). 720p (1280x720 pixels).
- Full HD (FHD). 1080p (1920x1080 pixels).
- 4K Ultra HD (UHD). 2160p (3840x2160 pixels).
- 8K Ultra HD. 4320p (7680x4320 pixels).
- Aspect Ratios. YouTube supports various aspect ratios, including 16:9 (standard), 4:3, and others. However, 16:9 is most common and recommended.
Frame rate:
- Standard Rates. YouTube supports frame rates up to 60 FPS.
Bitrate:
- For HD. Between 8 and 12 Mbps.
- For 4K. Between 35 and 45 Mbps.
Audio:
- Sample Rate. 44.1 kHz or 48 kHz.
- Bitrate. 128 to 384 kbps (higher bitrates provide better audio quality).
Maximum file size:
- For Regular Users. Up to 256 GB or 12 hours per clip.
Video duration:
- Regular Accounts. Up to 12 hours per video.
- Verified Accounts. Extended limits.
Video description:
- Title. Up to 100 characters.
- Description. Up to 5,000 characters.
- Tags. Up to 500 characters total.
Video subtitles:
- Format. SubRip Subtitle (.srt), Timed Text (.ttml), and other supported formats.
- File Size. The total size should be under 100 MB.
By adhering to these specifications, you can ensure your slideshows are uploaded in the best quality and are compatible with YouTube’s platform.
FAQ
- How do I create a slideshow with music?
- The majority of YouTube slideshow creators allow you to add audio to your slides. Make sure it is in the format supported by the program.
- Is it feasible to include narration on my YouTube slideshow?
- Yes, it's possible. You can easily record your voiceover and then add it the same way you would import a song.
- Can I add transitions between slides in my slideshow?
- Yes, you can! Various effects can give your panels a more professional look. Select the transition from the offered options and apply it between slides.
- How do I insert text into each slide of my YouTube slideshow?
- You can quickly incorporate captions and other elements into all frames of your video. Usually, slideshow makers have it under the icon "Text" or "Titles".
- Is it possible to preview my slideshow before publishing it?
- Absolutely! You can preview your output at any time during the editing process by clicking on the "Preview" or "Play" button. This will give you a chance to check how everything looks before publishing.
- Can I add videos to my YouTube slideshow?
- If you need to incorporate parts into your slideshow, simply find a slideshow maker that supports uploading such file types. Also, check the formats supported and convert your videos if needed.
- How do I upload a slideshow to YouTube?
- Some software will allow you to upload your video slideshow right to the hosting website. However, some may require you to download the resulting film to your device first. In such case, you will need to go to your channel and use the "Create" option.
Tips for a video slideshow creation
- Plan ahead. Confirm you know what points you want to cover and how much time you will need for each slide.
- Choose a theme. Pick a style that works for your content, like bold colors or muted tones.
- Keep slides concise. Bring one idea per slide and avoid long paragraphs of text.
- Include visuals. Utilize photos, visuals, infographics, text, charts, or other visuals to supplement your presentation and keep the audience engaged.
- Create a slideshow with music. Choose and add a soundtrack to video to set the tone of your slideshow, and consider adding narration for key points.
- Check the timing. Go through the slideshow several times to make sure it flows well and that it doesn't exceed the allotted time limit on YouTube (15 minutes).
- Edit and review. Carefully review all slides for typos or errors before uploading to YouTube.
- Promote your footage. Share the link to your video on social media channels or embed it into a blog post or website page for maximum engagement with your audience.
Image sourcing for YouTube slideshow
- Use your own photos and graphics whenever possible. These provide authenticity and ensure your slideshow is unique and relatable.
- Explore websites that offer royalty-free content. Examples include Unsplash, Pexels, and Pixabay for pictures, and Videvo or Coverr for clips.
- Consider purchasing stock from platforms like Shutterstock or Adobe Stock for professional-quality visuals tailored to your theme.
- Employ content under Creative Commons licenses, but be sure to check for specific terms, such as attribution requirements.
- If your slideshow is niche (e.g., historical, scientific), look into specific archives or libraries, such as NASA's or public domain collections.
Choosing the right music for YouTube slideshow
It’s important to select tracks that complement the tone and pacing of your images or videos.
Upbeat song works well for energetic, positive ones, while slower, instrumental pieces suit more reflective or emotional content.
Ensure audio doesn’t overpower the visuals but enhances the overall atmosphere.
Use copyright-free track to avoid licensing issues. Here are some platforms where you can find it:
- YouTube Audio Library
- Free Music Archive
- Epidemic Sound
- Incompetech
- Bensound
- SoundCloud (with filters)
Conclusion
Learning how to make a slideshow on YouTube should not be challenging if you follow the steps outlined in this guide.
It's important to have a clear idea of what you want the slideshow to look like before you begin. Pay attention to the length of your video. Additionally, ensure to include an intro and ending, as well as captions and music, to make your slideshow more engaging.
Once you've completed all these steps, click publish and you're done! With a bit of styling and creativity, you can create an impressive slideshow that will captivate your audience. So, what are you waiting for? Get started now and create slideshow for YouTube.


