How to Brighten a Video
The quality of your video can make a significant difference in how your message is perceived. One of the most frequent challenges faced in video production is dealing with footage that appears too dark or dull.
Fortunately, learning how to brighten a video can transform your movies, making them more visually appealing and impactful.
In this article, we'll explore the common causes of dark videos and provide practical methods and tips on how to deal with them, ensuring your content shines with clarity and brilliance.
How to brighten a video
Identifying the roots of dark footage enables you to address specific issues, resulting in higher quality videos that better capture your intended message and aesthetic.
Let's examine the most popular reasons for dark videos and how to fix them.
1. Poor Lighting Conditions
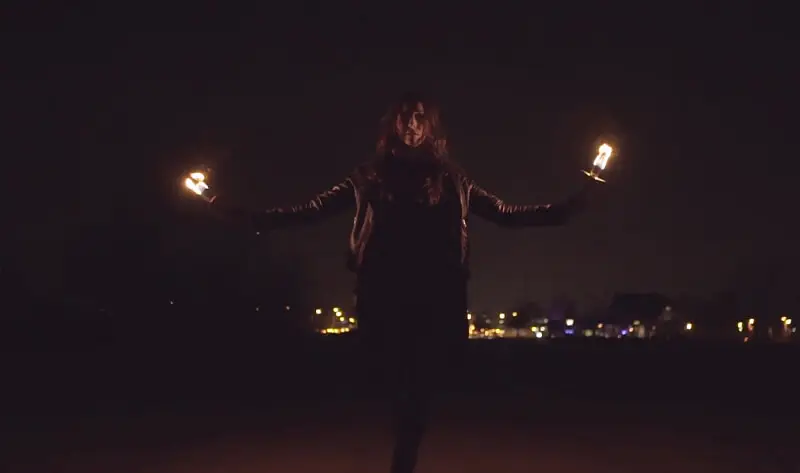
This occurs when there isn't enough light in the filming environment, leading to underexposed footage.
These situations can happen indoors if artificial lighting is insufficient or outdoors in the early morning, late afternoon, or in shaded areas. Additionally, relying solely on overhead lighting creates uneven illumination, further degrading video quality.
How to lighten dark video:
- Place your subject near windows or open spaces where natural light is abundant. Ensure the source is in front of or beside the target, not behind.
- Film during the golden hours—shortly after sunrise or before sunset.
- Invest in softbox to diffuse light evenly and reduce shadows.
- Portable and adjustable, LED panels can provide a consistent light source.
- The primary light should be placed at a 45-degree angle to the subject, providing the main illumination.
- Use reflectors to bounce existing light onto your object, filling in shadows and brightening the video scene.
- Apply diffusers to soften harsh light and spread it more evenly.
2. Incorrect Camera Settings
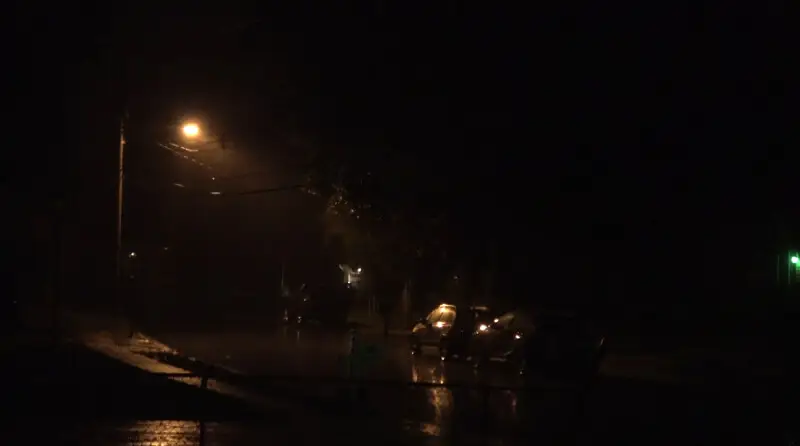
This typically involves settings like ISO, aperture, and shutter not being appropriately adjusted for the lighting conditions.
For instance, a low ISO might not be sensitive enough to capture sufficient color, a small aperture restricts the amount of light entering the lens, and a fast shutter speed limits the exposure time, resulting in darker footage.
How to make the dark video visible:
- Raise the ISO setting in low-light conditions, but be cautious as very high values introduce noise (graininess) to the video.
- Set the aperture to a lower f-stop number (e.g., f/1.8, f/2.8).
- Reduce the shutter speed to allow more light in.
- Switch to manual mode and experiment with different settings.
- If your camera has an exposure compensation feature, utilize it to increase video brightness.
- Adjust the white balance according to your environment (e.g., daylight, tungsten, fluorescent).
- Ensure ND filters are not used in dim conditions, as they unnecessarily darken your footage.
- Calibrate the display settings or employ a histogram to judge the correct exposure.
3. Improper Editing
Inadequate post-production video editing can leave your videos looking dark and underwhelming, even if they were filmed in good lighting conditions.
This issue arises when the editing process fails to enhance the video's brightness and overall exposure. Common mistakes include neglecting to adjust brightness and contrast, improper color correction, and not utilizing available program to edit video effectively.
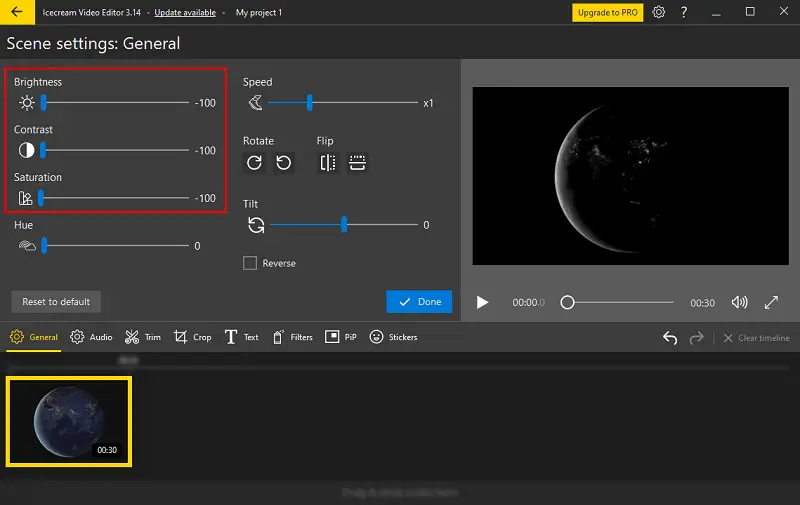
How to make video brighter:
- Use video brighteners in Icecream Video Editor, Adobe Premiere Pro, Final Cut Pro, or DaVinci Resolve to change these settings. Look for controls labeled "Brightness" and "Contrast" or similar terms.
- Start by adjusting the midtones, highlights, and shadows to achieve a balanced exposure.
- Turn up the exposure to make the video brighter.
- Apply a LUT that suits your clip's style.
- Explore filters that boost video saturation and effects that mimic better lightning.
- Increase shadow brightness to reveal detail in darker areas and decrease highlight strength to contrast video.
- Get a calibrated monitor to edit your video. Regularly calibrate your display to maintain color accuracy.
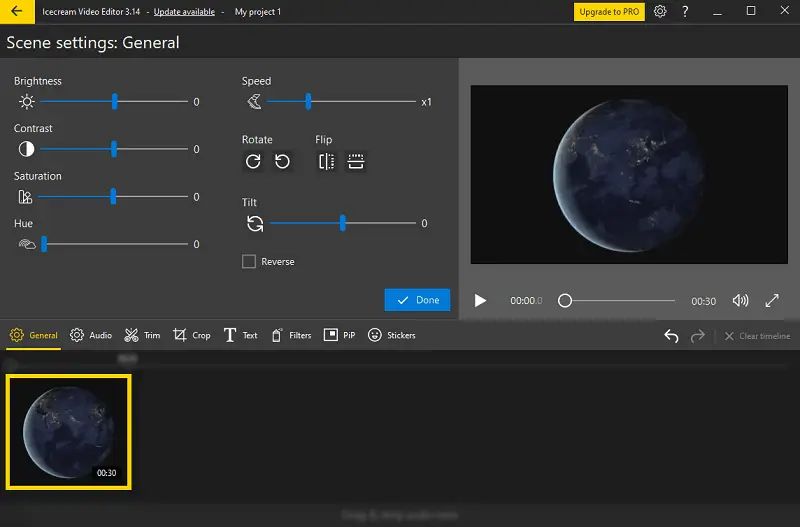
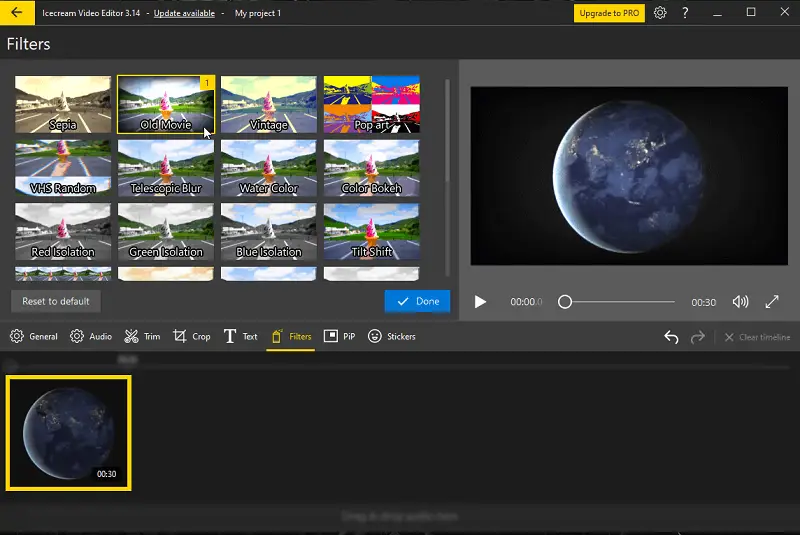
Filters to edit video brightness
When working to brighten a video, applying the right filters can play a key role in achieving the desired visual quality.
Video lighting editors filters will correct color imbalances to make your footage appear clearer and more vibrant.
Summary of various instruments that may help brighten dark videos:
| Filter Type | How It Works | Recommended Use |
|---|---|---|
| Brightness | Adjusts the overall color level to make the video lighter. | Add for general enhancement. |
| Exposure | Increases the exposure value, which brightens the image while adjusting the time. | Ideal for videos shot in low-light conditions. |
| High Dynamic Range (HDR) Filter | Balances contrast of videos to bring out details in both shadows and highlights. | Set to adjust overall video quality and brightness. |
| Gamma Correction | Changes midtone areas. | Best for fine-tuning brightness without losing detail. |
| Contrast | Enhances the difference between the darkest and lightest parts, which can make the video appear brighter. | Use to make the footage more dynamic and visually engaging. |
| Compensation Filter | Raises the exposure level to lighten dark video. | Handy for quick fixes in varying lighting environments. |
Tips to prevent dark videos in the future
- Film near a window to take advantage of daylight.
- Add extra sources like an LED panel.
- Keep the main light in front of you, not behind.
- Tweak exposure settings for a brighter image.
- Wipe the lens to avoid a hazy or dull look.
- Choose a white backdrop to reflect illumination.
- Increase ISO if your camera supports manual controls.
- Combine different lamps or soft lights for even coverage.
FAQ
- What role does the ISO setting play in video brightness?
- A higher parameter makes the sensor more sensitive to light, brightening the video. However, excessive ISO can introduce grain.
- Why does shooting in RAW improve brightness control?
- RAW files retain more data, making it easier to adjust exposure and brightness in post-production without degrading quality.
How to brighten a video: conclusion
In conclusion, brightening a video is a crucial step in enhancing its visual appeal and ensuring that your content is both engaging and easily viewed.
Implementing practical solutions, like optimizing lighting, adjusting camera settings, and applying appropriate filters, can significantly adjust video brightness and overall quality.
Whether you’re creating content for social media, marketing, or personal projects, adopting these techniques will ensure your films are clear, vibrant, and impactful.


