How to Screen Record on Laptop Like a Pro
Knowing how to screen record on a laptop is essential for capturing video tutorials, gameplay, presentations, or anything on your display.
In this guide, we’ll walk you through the easiest and most effective ways to screen record on Windows or macOS, regardless of your device or technical skill level.
Icecream Screen Recorder
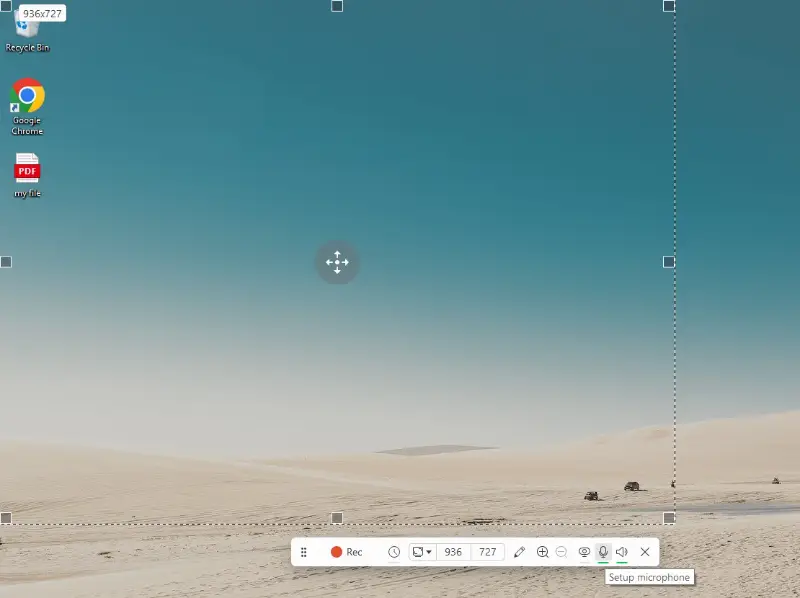
Icecream Screen Recorder is a versatile video recording software for Windows users, designed to capture everything from full display to specific regions. It includes features like webcam overlay, audio recording, and the ability to annotate clips during the process.
This Windows screen recorder is ideal for those who need a simple yet powerful tool for making tutorials, presentations, and gameplay videos.
How to record screen on laptop with Icecream Screen Recorder
- Go to the official website, download screen recording software, and follow the installation prompts to get started.
- Open the app and click "Capture video" to begin setting up your preferences.
- Select whether you want to record the full screen, a specific region, or a webcam-only clip.
- Once you’re ready, use the red "Rec" button to start the process.
- Press "Stop" when finished, and save the file to your desired folder.
Pros:
- Easy to use with a clean interface
- Supports both full-screen and region-specific captures
- Offers webcam recording with overlay
- Built-in annotation tools during the process
- Allows scheduled recordings for capturing webinars, streams, or presentations automatically
Cons:
- Free version has limitations on video length
Xbox Game Bar
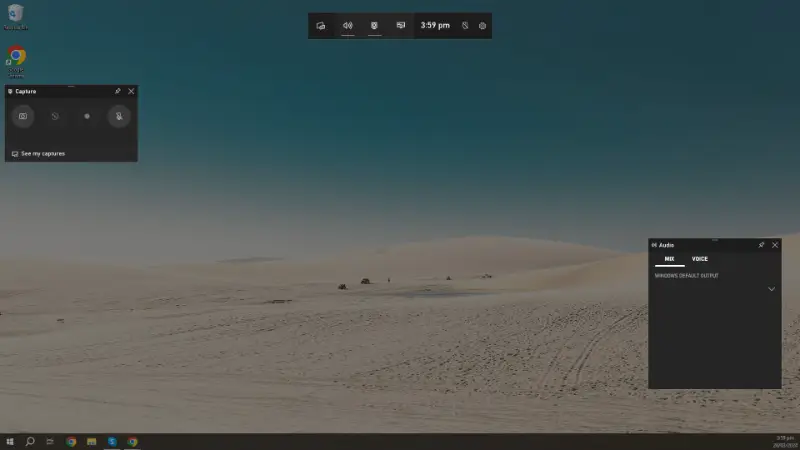
Xbox Game Bar is a built-in screen recorder for Windows 10 and 11 that allows you to easily capture gameplay and other activities. With features like video, audio, and webcam overlay, it provides a simple solution for users who don’t want to install third-party apps.
This program is perfect for quick recordings, such as video tutorials or demonstrations, with minimal setup required.
How to screen record on your laptop using Game Bar
- Press Windows key + G to open the app.
- Enable Game Bar from "Settings" > "Gaming" if it’s not already activated.
- Choose the "Capture" widget and adjust audio settings if needed.
- Click "Record" or press Windows key + Alt + R to start the process.
- When done, use the "Stop" button or hit Windows key + Alt + R again to save your clip.
Pros:
- Built into Windows 10/11, no need for additional downloads
- Simple interface with easy access to recording features
- Option to capture with webcam overlay
- Records specific selected areas or apps with ease
Cons:
- Cannot record File Explorer and some third-party apps
- Limited to certain audio inputs
OBS Studio
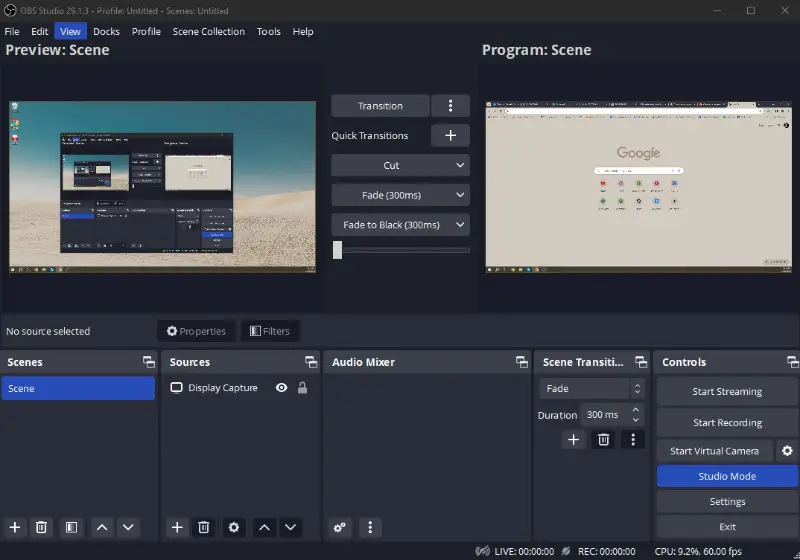
OBS Studio is an open-source screen recording and live-streaming software used by content creators, gamers, and professionals alike. It offers a range of powerful features, with features like scene transitions and advanced audio controls.
Perfect for those needing a flexible, feature-rich screen recorder for Windows with a steep learning curve.
How to screen record on a laptop using OBS Studio
- Download and install OBS Studio from the official website.
- Open the app and create a new scene.
- Add a "Display Capture" source to record the screen or a "Window Capture" for specific apps.
- Adjust the audio and video settings to your preferences.
- Press "Start Recording", and hit "Stop" when you're finished.
Pros:
- Free and open-source software
- Highly customizable with advanced settings
- Supports multiple video and audio sources
- Ideal for professional content creation and live streaming videos
Cons:
- Steep learning curve for beginners
- Can be resource-intensive on lower-end systems
QuickTime Player
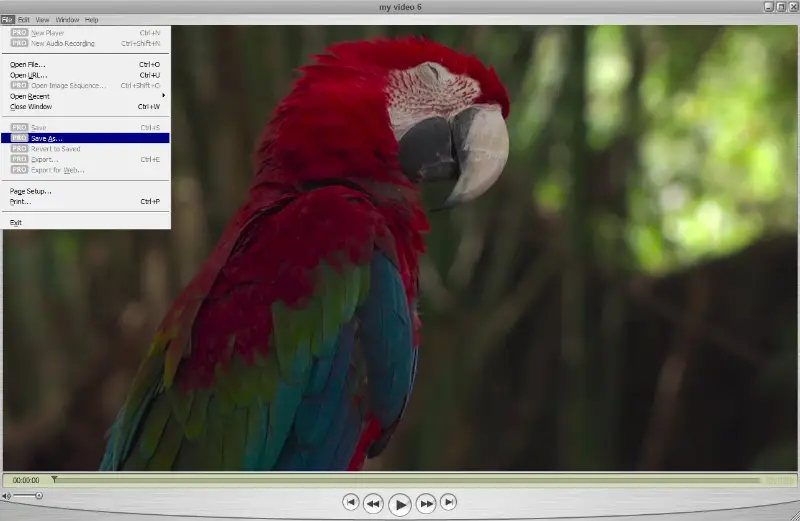
QuickTime Player is a built-in macOS application that provides simple screen recording functionality. It also offers basic video editing features for trimming videos after capturing.
Ideal for users needing a minimalistic tool for a MacBook without the need for additional software.
How to screen record on your macOS laptop using QuickTime Player
- Open QuickTime Player on your MacBook.
- Go to the "File" menu and select "New Screen Recording".
- Choose whether to capture the entire display or a specific area.
- Click the "Record" button and start the process.
- When finished, hit "Stop" in the menu bar, and save the result to your desired location.
Pros:
- Built-in screen recording application on macOS laptop, no downloads required
- Simple and easy-to-use interface
- Offers basic video trimming features
- Supports microphone input for capturing voiceover
Cons:
- Lacks advanced tools found in other programs
- Limited editing capabilities for post-recording adjustments
Video Candy
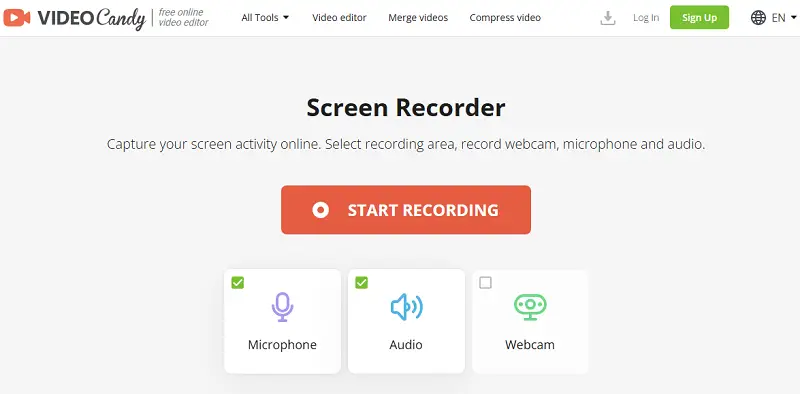
Video Candy functions as a practical, internet-based screen recorder that enables you to capture your laptop’s display without needing to install any programs. It operates entirely online, offering compatibility with both Windows and macOS systems.
How to use Video Candy as laptop video recorder
- Open your browser and visit the online screen recorder official web page.
- Choose what to film—whether it’s the entire display, a single window, or a picked portion.
- Click "Start Recording" to launch the tool.
- When prompted, grant permission to access the screen, microphone, or audio as needed.
- Hit "Share" to begin capturing your content.
Pros:
- Supports microphone and system sound for complete voiceover capture
- Simple, user-friendly interface suitable for beginners
Cons:
- Requires an internet connection to function
Tips to screen record on laptops
- For sharper visuals, select a higher resolution, ideally 1080p (Full HD), especially for detailed tutorials or content.
- A 30 fps frame rate is usually fine, but if you’re capturing fast movements, such as in gaming, go for 60 fps for smoother playback.
- Close any unnecessary apps to prevent distractions from notification sounds.
- Ensure your screen recording software is set to capture both the system audio and microphone input, especially for recordings involving media demonstrations.
- Familiarize yourself with the shortcuts for starting, pausing, and stopping. These allow you to maintain focus without needing to click through menus during the process.
- Run a brief trial session to check settings and confirm that everything is working as expected, including sound levels and the correct screen area.
- Instead of capturing everything in one go, consider breaking the video into smaller clips. This simplifies editing and reduces the risk of losing valuable footage due to technical issues.
- Tidy up your desktop by removing unnecessary files and icons. A neat workspace looks more professional and avoids distractions in your video.
- If you're recording yourself via webcam, ensure you're well-lit with soft, even lighting. This helps with softer shadows and improves the clarity of your face in the video.
Conclusion
Screen recording on a laptop is easier than ever, thanks to built-in tools and user-friendly software options.
Whether you need to capture something for work, school, or personal projects, you now have everything you need to get started.
Try out different methods to see which one works best for you, and start creating high-quality screen recordings with ease.


